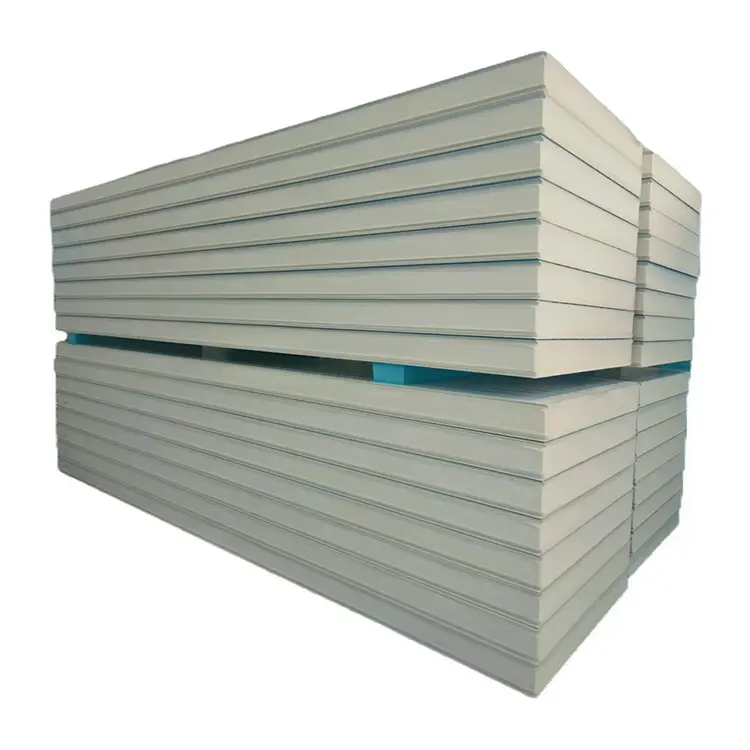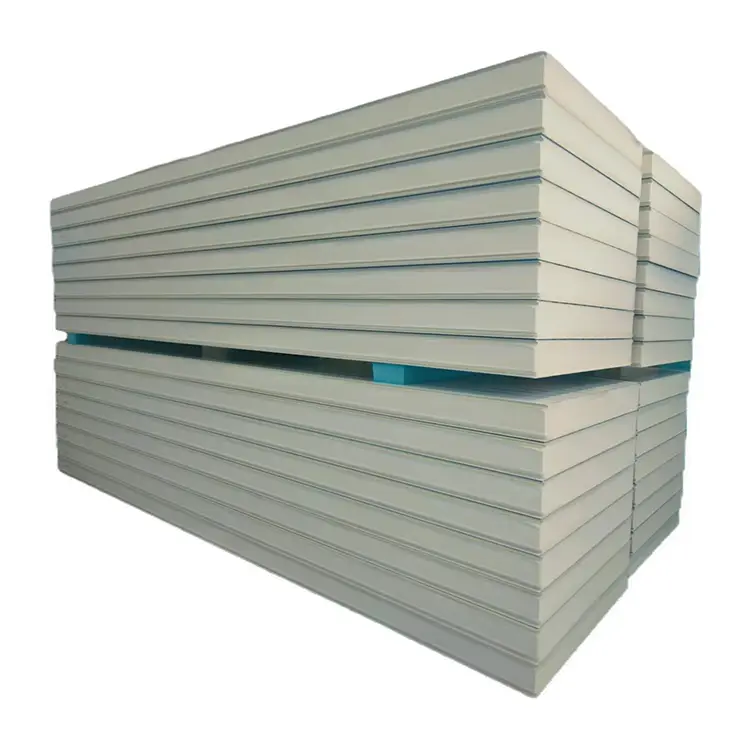

PIR Insulation Boards: A Practical Guide – Selection, Installation, and Common Pitfalls
Anyone working in construction knows this truth: when insulation fails, it's rarely because the board itself was defective. More often, it's because someone chose the wrong specification or installed a critical detail incorrectly.
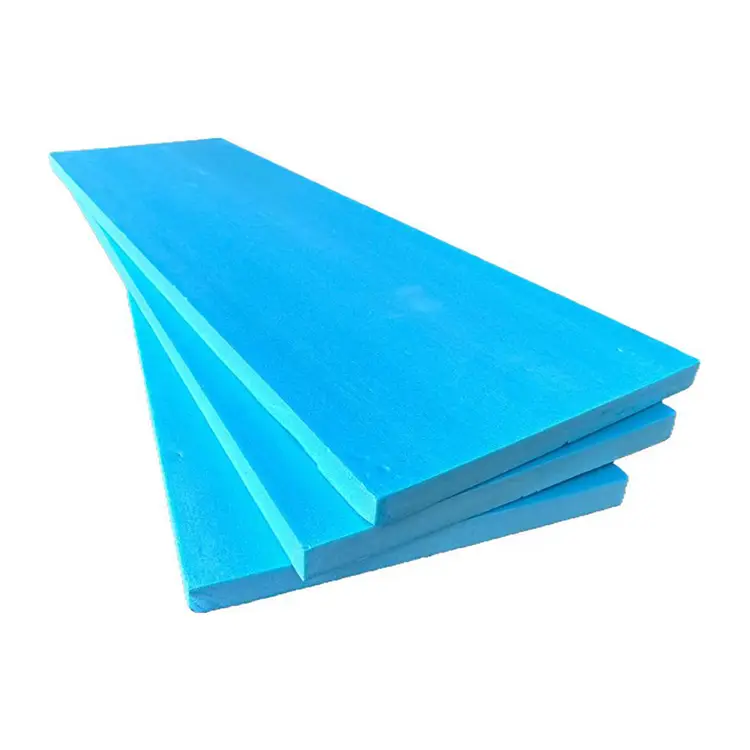
PIR (polyisocyanurate) insulation boards have become increasingly popular in recent years, and the performance data is genuinely impressive – thermal conductivity as low as 0.022 W/(m·K), better fire performance than standard polyurethane, and far superior dimensional stability compared to EPS and XPS.
But I've seen too many job sites where premium materials delivered mediocre results.
Where does it go wrong? Simply put: buying based on price rather than parameters, and installing based on speed rather than precision.
This article doesn't rehash manufacturer brochures. It covers three practical topics: how to select the right board, how to install it correctly, and how to avoid the most common mistakes – all based on real-world field experience.
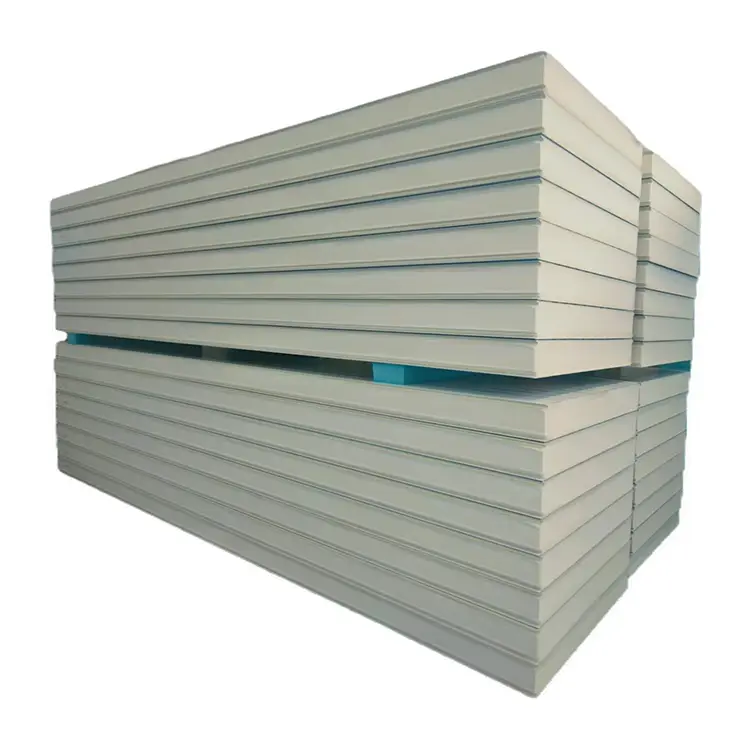
Board Selection – Three Parameters That Matter More Than the Brand
Many procurement officers start with "What brand do you carry?" But PIR technology is mature, and the quality gap among major manufacturers is not as wide as you might think. What truly determines performance are the following three parameters – and each should be written into your contract with verified test data.
1. Thermal Conductivity – Insist on "Measured Values," Not "Label Values"
The λ‑value printed on product brochures is typically a "nominal" figure obtained under ideal laboratory conditions.
Your rule: Request the third-party type test report from a national testing center. Find the "thermal conductivity" column and read the measured value. For quality PIR at 25°C mean temperature, the measured λ should fall between 0.022 and 0.024 W/(m·K).
If a supplier claims 0.020 or below, treat it with skepticism – it's not technically impossible, but the production cost would be in a completely different tier, and it's rarely delivered consistently in real production runs.
2. Compressive Strength – Match It to Your Application
This is the most overlooked parameter, and it causes the most expensive failures.
| Application | Minimum Compressive Strength | Why It Matters |
|---|---|---|
| Wall cladding (non-load-bearing) | ≥ 100 kPa | Sufficient for wind load resistance |
| Flat roofs with foot traffic or equipment | ≥ 150 kPa | Prevents indentation from maintenance access |
| Cold storage floors (forklift traffic) | ≥ 250 kPa | Avoids cold-bridge formation from floor settling |
Practical tip: If you're uncertain, choose one grade higher. Increasing compressive strength costs about 5–8% more per tier – but that's negligible compared to the cost of demolishing and reinstalling a failed floor.
3. Facings – Choose by Environment, Not by Price
| Facing Type | Best For | Critical Limitation |
|---|---|---|
| Aluminium foil (double-sided) | Exterior walls, roofs, all general use | Acts as vapour barrier + radiant reflector – the most versatile choice |
| Glass-fibre mat | Internal partitions, dry environments | Poor moisture resistance – do not use in humid climates or exterior applications |
| Metal-faced (colour steel) | Cold rooms, cleanrooms, food plants | Serves as finished surface – eliminates secondary cladding |
A common mistake: Using glass-fibre mat PIR on exterior walls in humid coastal regions. Without an effective vapour barrier, moisture slowly infiltrates the board over 3–5 years, raising thermal conductivity by 20% or more.
Installation – Five Critical Details That Make or Break the Job
Selecting the right board gets you about 30% of the way to a successful installation. The remaining 70% depends entirely on workmanship. These five details are where most field failures originate – and where inspectors should focus their attention.
Substrate Preparation – Don't Skip It
I've seen crews apply PIR boards directly over uneven concrete or masonry walls, using adhesive mortar to fill the gaps. The result? Widespread hollow bonding – you can hear the "drummy" sound when tapped.
Correct procedure:
-
Before installation, check the substrate with a 2‑m straightedge.
-
Any deviation exceeding 5 mm must be levelled with cement mortar beforehand.
-
This adds two days to the schedule but prevents board deformation, cracking, and eventual detachment.
Joint Sealing – More Important Than the Board Itself
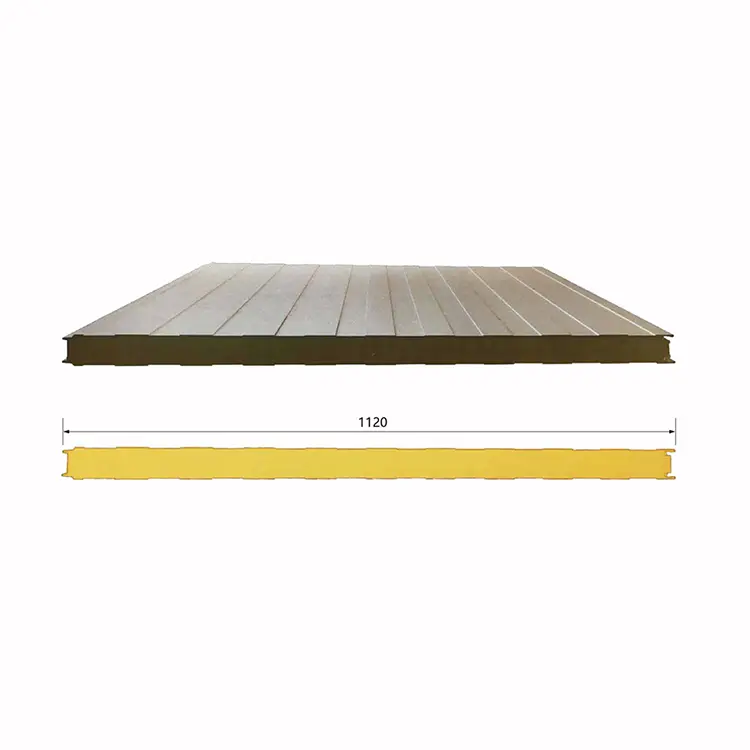
PIR's high thermal efficiency depends on a continuous closed-cell structure. If the joints between boards aren't properly sealed, warm air circulates through the gaps, and the entire wall's performance drops significantly. Unsealed joints act as "thermal windows" across the insulation layer.
Three-step sealing protocol (do not skip any step):
-
Preferred: Use boards with tongue-and-groove (T&G) edges – they interlock during installation.
-
Apply PUR foam adhesive inside all joints before fitting.
-
Cover the surface with aluminium foil tape at least 50 mm wide, pressed firmly over every joint.
Mechanical Fasteners – Fewer Is Better (Up to a Point)
Many installation crews over-anchor boards out of caution – 12 to 15 fasteners per square metre is not uncommon.
But here's the catch: every metal anchor creates a thermal bridge. Laboratory data shows that when fastener density exceeds 8 per m², overall wall insulation performance drops by 10–15%.
The smarter approach:
-
Prioritise adhesive bonding – achieve at least 40% bond coverage.
-
Use mechanical anchors only for secondary fixation – 4 to 6 per m² is usually sufficient.
-
Choose stainless steel or thermally broken anchors (with plastic washers) to further reduce bridging.
Vapour Barrier Placement – North vs South, It's the Opposite
PIR is a closed-cell material and is virtually impermeable to water vapour. This is generally an advantage, but it creates a risk: if indoor moisture enters the insulation layer and hits a cold surface, condensation forms inside the boards, gradually degrading thermal performance.
The rule is simple but often inverted:
-
In heating-dominated climates (cold winters): place the vapour barrier on the interior (warm) side of the insulation.
-
In cooling-dominated climates (hot summers): place the vapour barrier on the exterior (warm) side – because the "warm side" is outdoors during air-conditioning season.
Get this reversed, and your vapour barrier becomes a moisture trap, doing more harm than good.
Cutting – The Tool Matters More Than the Skill
On-site cutting of PIR boards is inevitable. But never use a standard utility knife – it crushes the closed cells at the cut edge, creating a highly absorbent zone that becomes an entry point for moisture.
Required tools:
-
A fine-tooth saw or
-
An electric hot-wire cutter
These tools produce clean cuts that preserve the cell structure. Dimensional tolerance should be ±2 mm – gaps wider than that cannot be adequately filled with foam adhesive alone.
Three Common Misconceptions
Misconception #1 – "PIR's B2 fire rating means it's unsafe."
This reveals a misunderstanding of fire dynamics. PIR is a thermoset material – when exposed to flame, it chars and forms a protective carbon layer on the surface. It does not melt, drip, or shrink away from heat. In contrast, some B1‑rated thermoplastics (like XPS) shrink and melt, actually contributing to flame spread.
The key metric for PIR fire safety is the FIGRA (Fire Growth Rate Index), not just the letter grade. Good PIR products consistently achieve B‑s1, d0 – the highest sub-classification for smoke and droplets.
Misconception #2 – "Brighter aluminium foil means better quality."
Foil performance depends on thickness and pinhole density, not reflectivity. Quality foil should be at least 0.05 mm thick – anything below 0.02 mm will tear easily during handling and installation, destroying its vapour-barrier function.
Quick field test: Gently scratch the foil surface with a fingernail. If it tears or flakes, it's too thin.
Misconception #3 – "Thicker insulation is always better."
Beyond 150 mm, each additional 10 mm of thickness delivers diminishing energy returns, while materially increasing anchor stress, structural load, and cost. Instead of adding thickness blindly, invest your attention in thermal-bridge mitigation at window openings, parapets, and eaves – those details often offer greater savings than simply piling on more board thickness.
Acceptance Inspection – Three Non‑Negotiables
When the installation is complete, don't just do a visual walk‑through. Check these three items systematically:
1. Flatness and joint gaps
-
Use a 2‑m straightedge – surface deviation should be ≤ 4 mm.
-
Joint gaps should be ≤ 2 mm; any wider gaps must be filled with foam.
2. Hollow-sound detection
-
Tap the board surface gently with a wooden mallet.
-
If hollow area exceeds 15% of a single board, that board must be removed and re‑installed.
3. Air tightness around openings
-
Window and door perimeters are the most common leakage points.
-
Use a smoke pencil or anemometer to detect airflow – seal any leaks with additional sealant.
PIR insulation boards are excellent products – but they are not "fool‑proof" materials. The technical threshold for proper selection and installation is higher than many assume.
When projects go wrong, it's almost never because the material underperformed – it's because someone overlooked a detail. Did you verify thermal conductivity from a test report rather than a brochure? Were joints sealed in three steps? Are mechanical fasteners creating thermal bridges? Was the vapour barrier placed on the correct side?
Each of these details, taken together, determines the final energy performance of the building envelope.
Related News
- Is a Manual Sliding Cold Storage Door the Best Solution for Modern Refrigeration Facilities
- Is Containerized Mobile Cold Storage the Ultimate Solution for Flexible Refrigeration Needs
- What Makes Hook Type Insulation Panels the Best Choice for Modern Cold Storage and Industrial Buildings
- What Is a U Type Top Discharge Air Unit and Why Is It Essential for Modern Refrigeration Systems
- What Is a Hermetic Scroll Unit and Why Is It the Ultimate Solution for High-Efficiency HVAC & Refrigeration Systems
- How Can an Industrial Water Defrosting Air Cooler Improve Cold Storage Efficiency and Reduce Operating Costs
Leave me a message